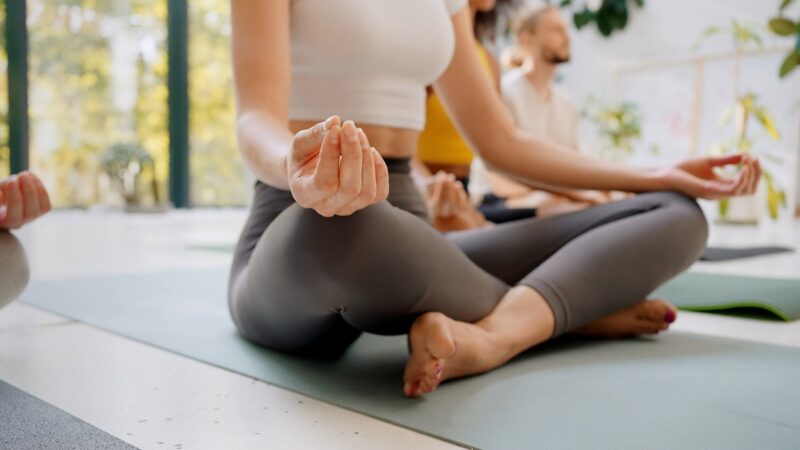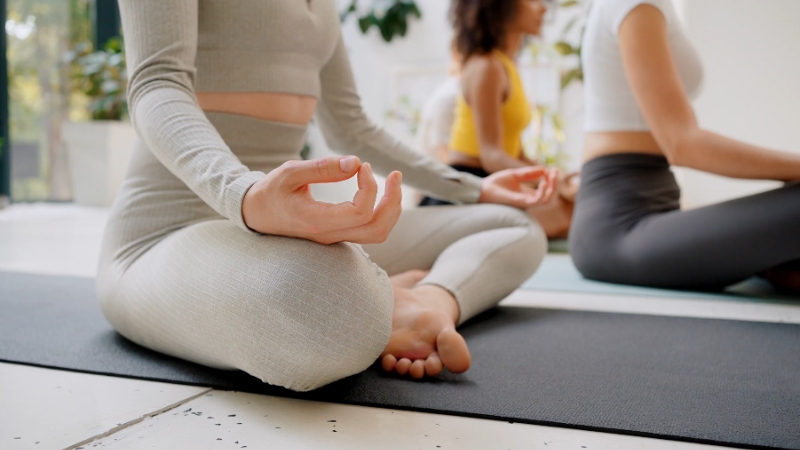

Anyone can try it, and it fits well into most yoga routines because it helps build balance and flexibility. It’s often used to connect with a deeper sense of grounding and stability while promoting physical strength.
Set up the Goddess Pose
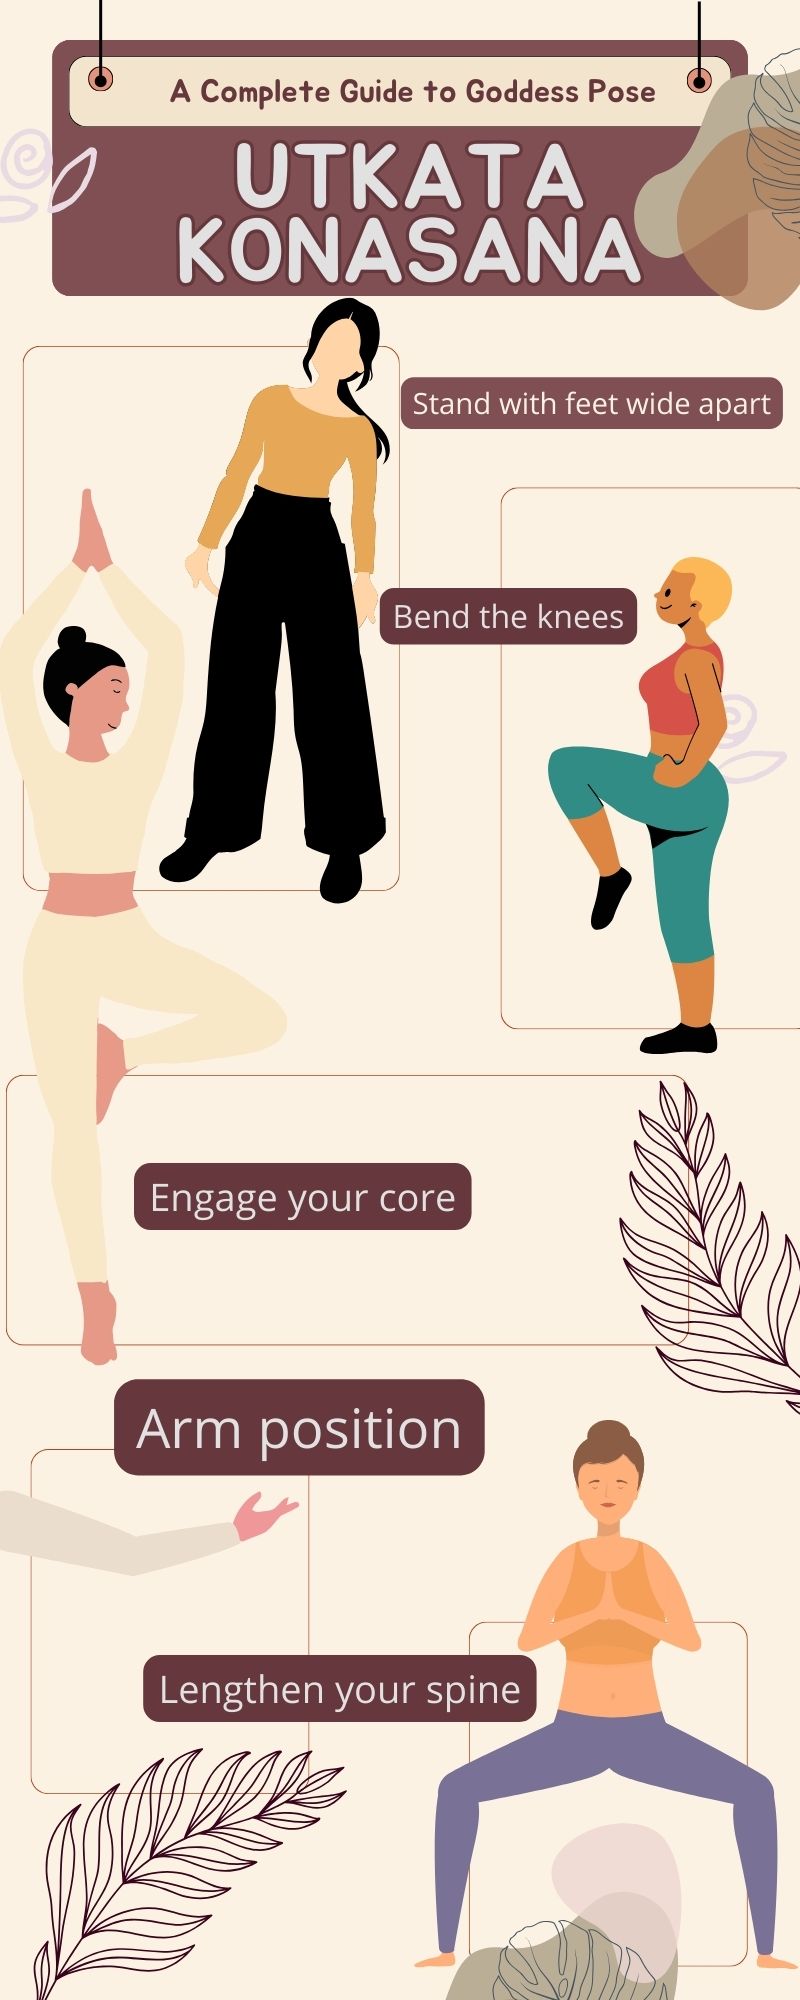
Steps to follow
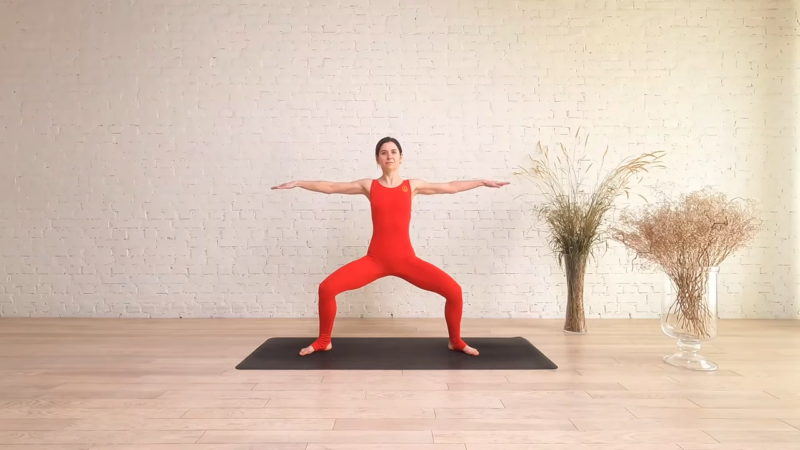
- Stand with feet wide apart: Start by positioning your feet about 3 to 4 feet apart, depending on your height. Make sure your toes point outward at about a 45-degree angle to fully engage your hips.
- Bend the knees: Slowly bend your knees as you lower your hips down into a squat position. Ensure that your knees track over your toes and not inward. The goal is to create a 90-degree angle between your thighs and calves.
- Engage your core: While lowering into the squat, engage your core by pulling your belly in and slightly tucking your tailbone down to avoid overarching the lower back.
- Arm position: Extend your arms out at shoulder height and bend your elbows so your forearms point up. This is known as “cactus arms” and helps open up the chest.
- Lengthen your spine: Keep your spine straight by lifting through the crown of your head while maintaining a neutral neck position. Avoid slouching or arching.
Align the body properly
Seps for alignment during the pose:
| Alignment Step | Description |
|---|---|
| Foot Placement | Position feet wider than hip-width apart, toes pointed out at a 45-degree angle. Keep knees directly over toes. |
| Knee Alignment | Track knees in the same direction as toes while squatting. Avoid letting them collapse inward to prevent knee strain. |
| Pelvic Alignment | Tuck tailbone slightly and engage core to avoid overarching the lower back, protecting spine and distributing load across legs and hips. |
| Spine Position | Keep spine straight, chest lifted by rolling shoulders back and down. Avoid rounding the back and maintain a neutral neck position by lengthening through the head. |
| Arm Positioning | Raise arms to shoulder height, bend elbows at 90 degrees, with palms facing upward. This helps open the chest and stabilize posture. |
Benefits of Goddess Pose
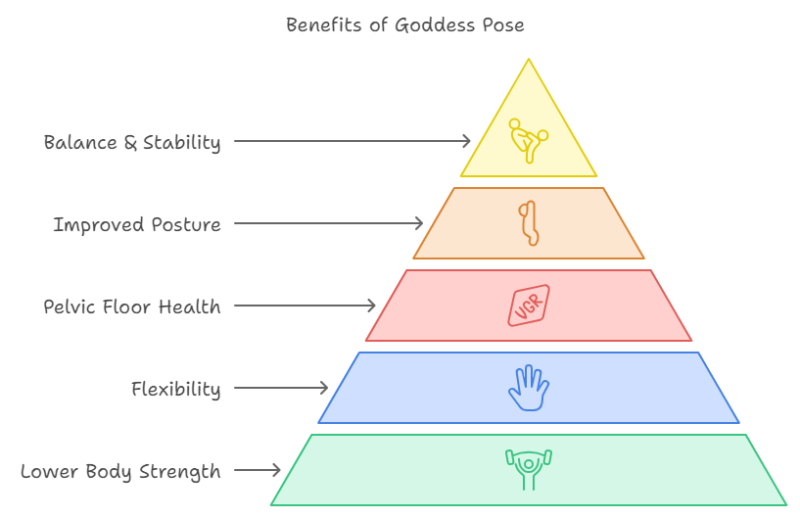
- Strengthens the lower body: This pose primarily targets the thighs, glutes, hips, and core muscles. As you hold the squat position, you build endurance in the legs and improve lower body strength.
- Improves flexibility: The wide-legged stance and hip-opening movement help increase flexibility in the inner thighs, groin, and hips.
- Supports pelvic floor health: For women, particularly during pregnancy, Goddess Pose is known to strengthen the pelvic floor, aiding in childbirth preparation and improving postpartum recovery.
- Enhances posture: By engaging the core and lengthening the spine, this pose encourages better posture and helps relieve tension in the shoulders and lower back.
- Boosts balance and stability: Holding this pose requires focus and engagement of stabilizing muscles, which can improve balance and coordination over time.
Modify Goddess Pose for beginners
Goddess Pose can be a bit challenging, especially for those new to yoga. However, there are simple modifications to make it more accessible while still gaining the benefits. By starting with a modified version, beginners can gradually build strength and flexibility.
- Reduce squat depth: Instead of sinking all the way into a deep squat, lower your hips just halfway. This reduces the strain on the knees and thighs while still activating the muscles.
- Use a wall for support: Beginners can practice near a wall to help with balance. Stand a couple of feet away from the wall, and as you squat, let your tailbone lightly touch the wall for extra stability.
- Place hands on hips: Rather than holding the arms in a “cactus” shape, beginners can rest their hands on their hips to focus more on balancing the lower body. This makes the pose less overwhelming while still engaging the necessary muscle groups.
- Shorter hold times: Start by holding the pose for 10 to 20 seconds, and gradually increase the time as your strength improves. This allows the body to adapt without overexertion.
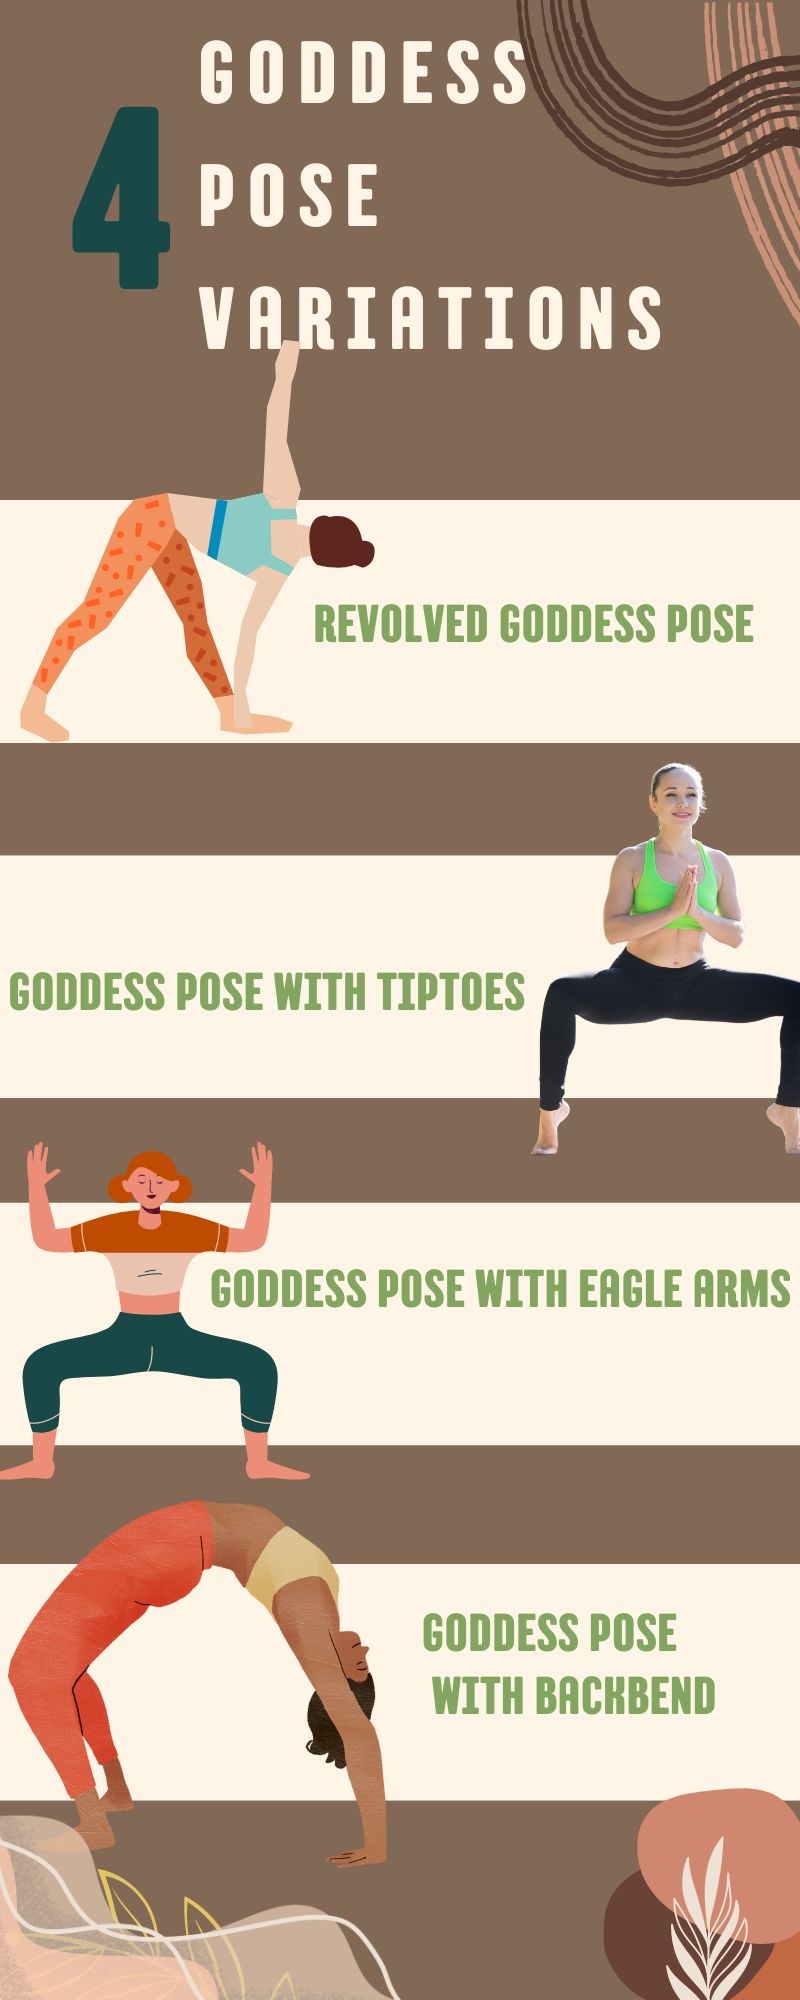
Explore advanced variations
Goddess Pose:
| Pose Variation | Description |
|---|---|
| Revolved Goddess Pose | Add a twist from the squat position by placing one hand on your thigh and twisting your torso to the opposite side, extending the other arm upward. Engages core, improves spinal flexibility, and balance. |
| Goddess Pose with Tiptoes | Lift both heels off the floor, balancing on tiptoes while holding the squat. Intensifies the challenge for calves and core, increasing stability and strength. |
| Goddess Pose with Eagle Arms | Wrap one arm under the other, bringing palms together in front of your face. Adds a shoulder and upper back stretch while maintaining the squat, improving flexibility and coordination. |
| Goddess Pose with Backbend | From the regular pose, lift your chest upward and slightly lean back to open the chest and stretch the upper body. Enhances spine flexibility and engages the core further. |
Tips to avoid injury
- Check knee alignment: Make sure your knees track directly over your toes when squatting. Avoid allowing your knees to collapse inward, as this can cause strain on the joints.
- Engage your core: Keeping your core engaged supports your lower back and helps maintain a neutral spine. This is essential to avoid arching the lower back, which can lead to discomfort.
- Do not over-squat: While sinking lower into the squat can deepen the pose, pushing beyond your limits can strain your knees and hips. Only go as far as your flexibility and strength allow.
- Use modifications if needed: Beginners or those with physical limitations should feel free to modify the pose. This might include reducing the depth of the squat, using props like blocks or a wall, or even keeping the feet slightly closer together to reduce strain on the joints.
Add Goddess Pose to your routine
How to include Goddess Pose in your routine?
- Warm-up sequence: Start your practice with a few rounds of light hip stretches, such as Cat-Cow or low lunges, before moving into Goddess Pose. This helps to loosen the muscles around the hips and thighs, making it easier to achieve proper alignment.
- Flow integration: Use Goddess Pose as part of a dynamic flow. Transition from poses like Warrior II or Triangle Pose into Goddess Pose to work on lower body endurance and core stability. Moving between these poses keeps the muscles engaged and helps to build strength.
- Standalone strengthening pose: Incorporate Goddess Pose into strength-building sessions. Hold the pose for 30 seconds to 1 minute, focusing on proper alignment and deep breathing to activate your core and legs. Repeat this 3-5 times with a short break in between.
- Cool-down stretch: At the end of your practice, Goddess Pose can be used to release tension in the hips and thighs. Pair it with deep breathing exercises to calm the mind and relax the body.
Key benefits of adding Goddess Pose to your routine
- Increases strength and stability: Regular practice builds strong, toned muscles in the legs, glutes, and core.
- Enhances hip flexibility: Goddess Pose opens the hips and stretches the inner thighs, improving mobility.
- Promotes mental focus: The pose encourages grounding and focus, making it an ideal choice for practices aimed at reducing stress and increasing mindfulness.
FAQs
Last Words
Goddess Pose (Utkata Konasana) is a powerful yoga posture that strengthens your lower body, opens your hips, and enhances balance. It can be practiced by beginners and advanced yogis alike, offering both physical and mental benefits. By focusing on proper alignment and adding modifications when necessary, you can safely incorporate it into your routine.